|
Bước 1 Download Visual Studio Code file .deb từ trang chính thức MS. 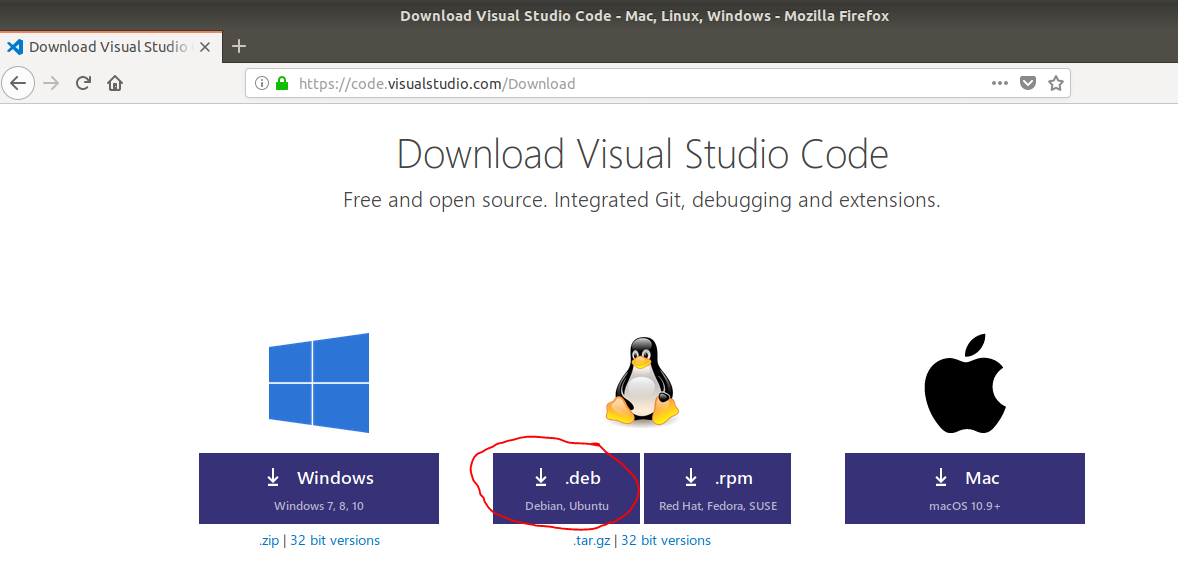 Bước 2: Mở terminal, chuyển tới thư mục Downloads. Bước 3: Gõ lệnh sudo dpkg - i <ten_file>. deb 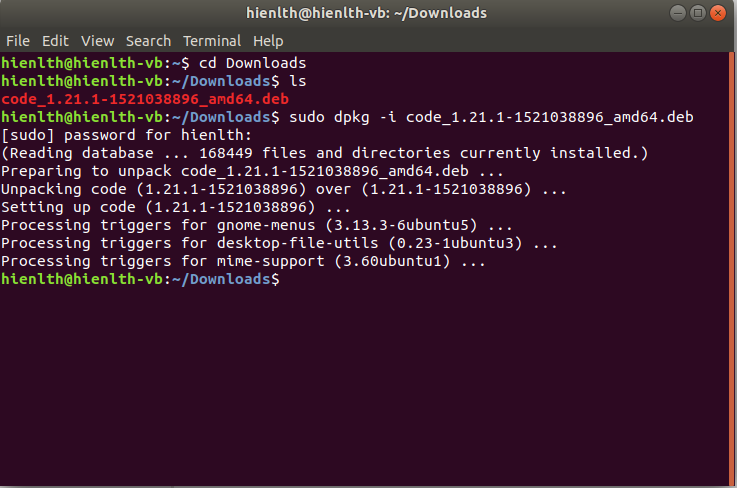 Như vậy đã cài xong Visual Studio Code cho Ubuntu 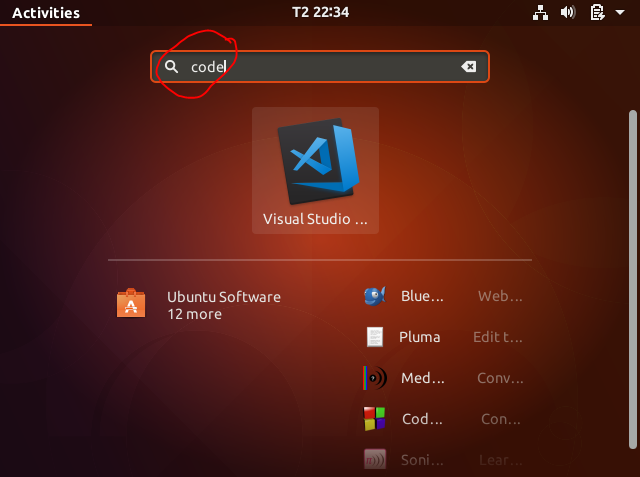 Bước 4: Cài curl Mở terminal gõ lệnh: sudo apt install curl 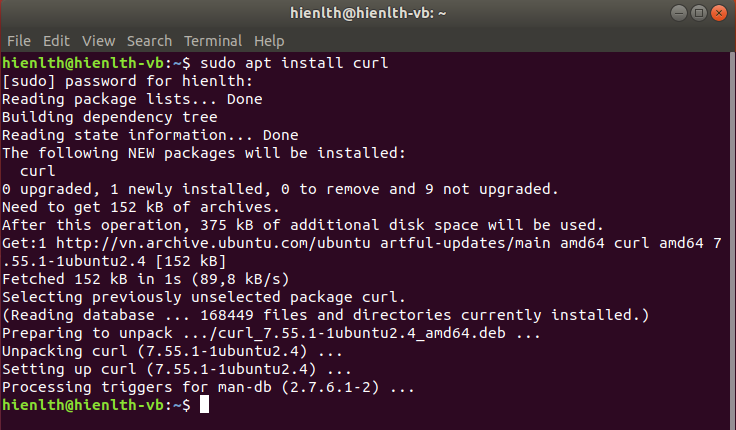 Bước 5: Đăng ký Microsoft Product key as trusted bằng cách gõ 2 câu lệnh curl https://packages.microsoft.com/keys/microsoft.asc | gpg --dearmor > microsoft.gpg sudo mv microsoft.gpg /etc/apt/trusted.gpg.d/microsoft.gpg 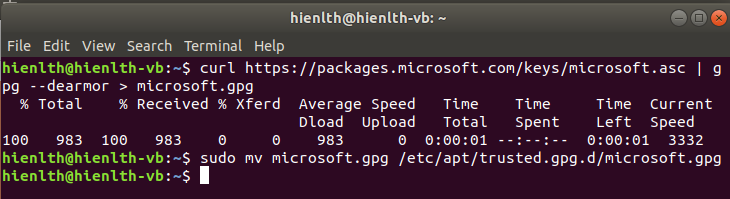 Bước 6: Set up the desired version host package feed Tùy hệ điều hành sẽ có câu lệnh tương ứng, ở đây tôi dùng Ubuntu 17.10 sudo sh - c 'echo "deb [arch=amd64] https://packages.microsoft.com/repos/microsoft-ubuntu-artful-prod artful main" > /etc/apt/sources.list.d/dotnetdev.list' sudo apt - get update 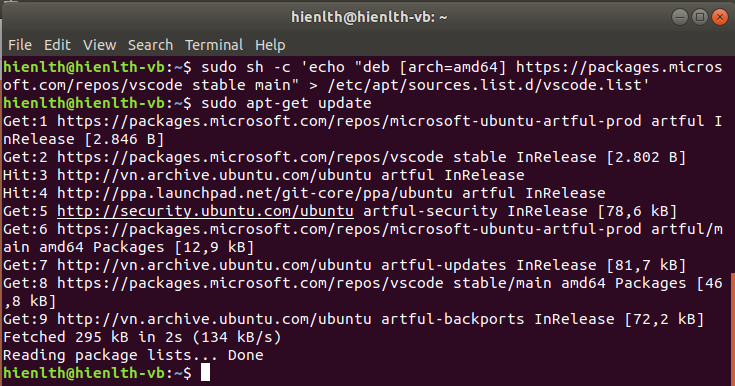 Bước 7: Cài đặt .NET Core sudo apt-get install dotnet-sdk-2.1.4 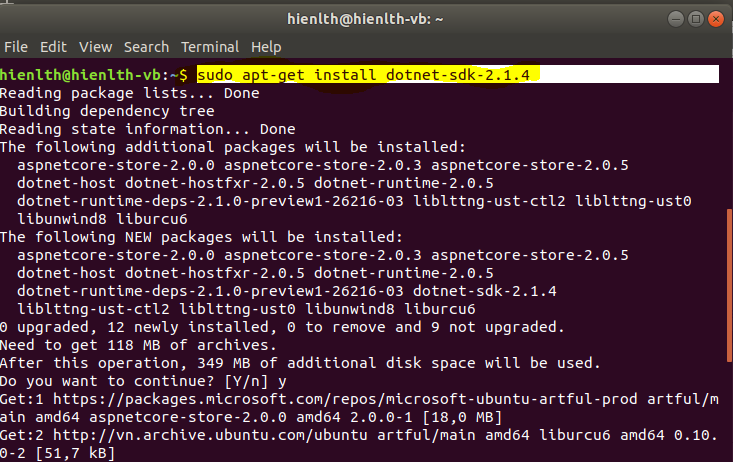 Sau khi cài xong có thể kiểm tra lại version bằng lệnh: dotnet --version Bước 8 : Tạo ứng dụng demo dạng console 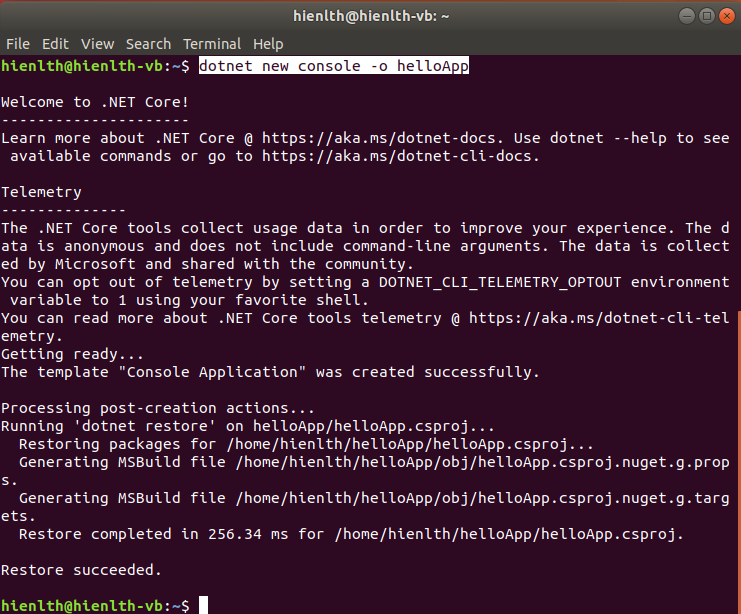 Bước 9: Chạy ứng dụng (dotnet run) 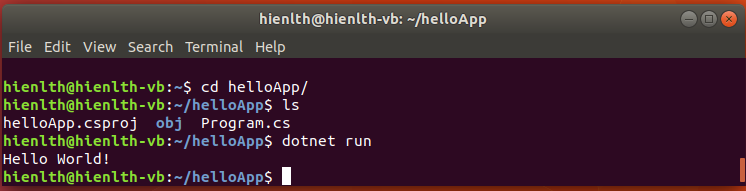 Mở code bằng Visual Studio Code 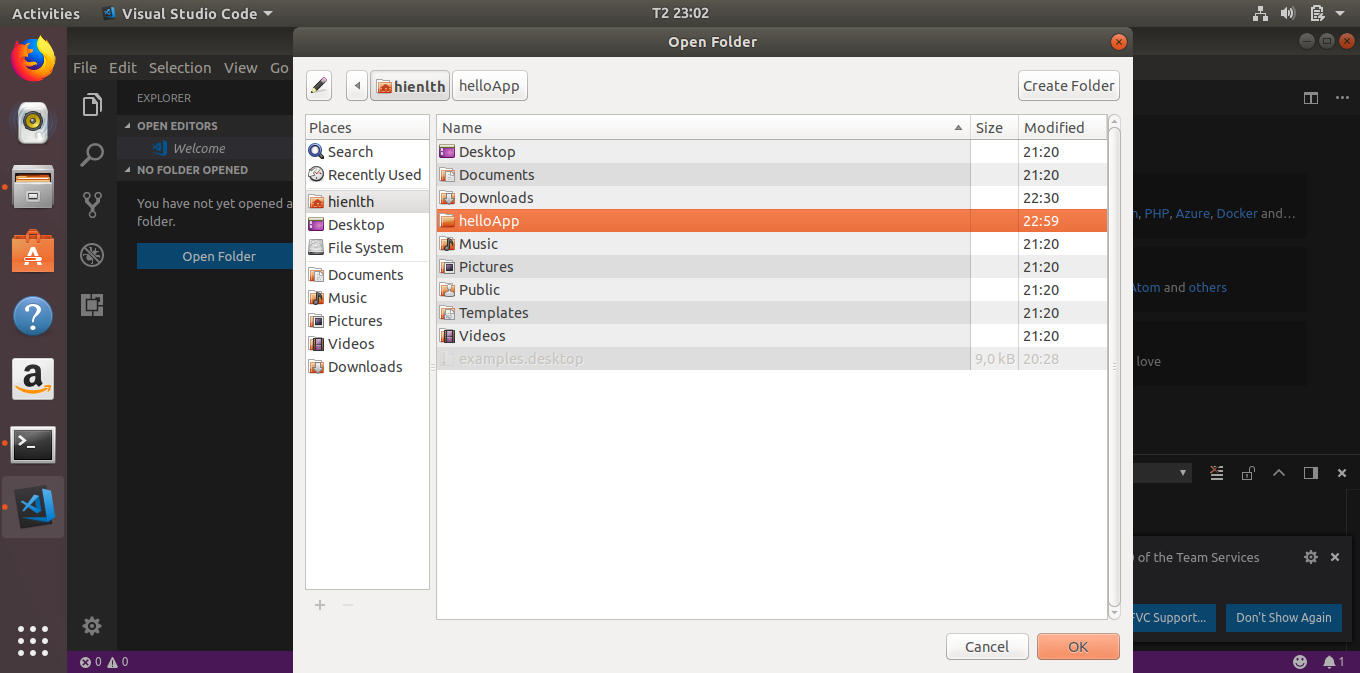 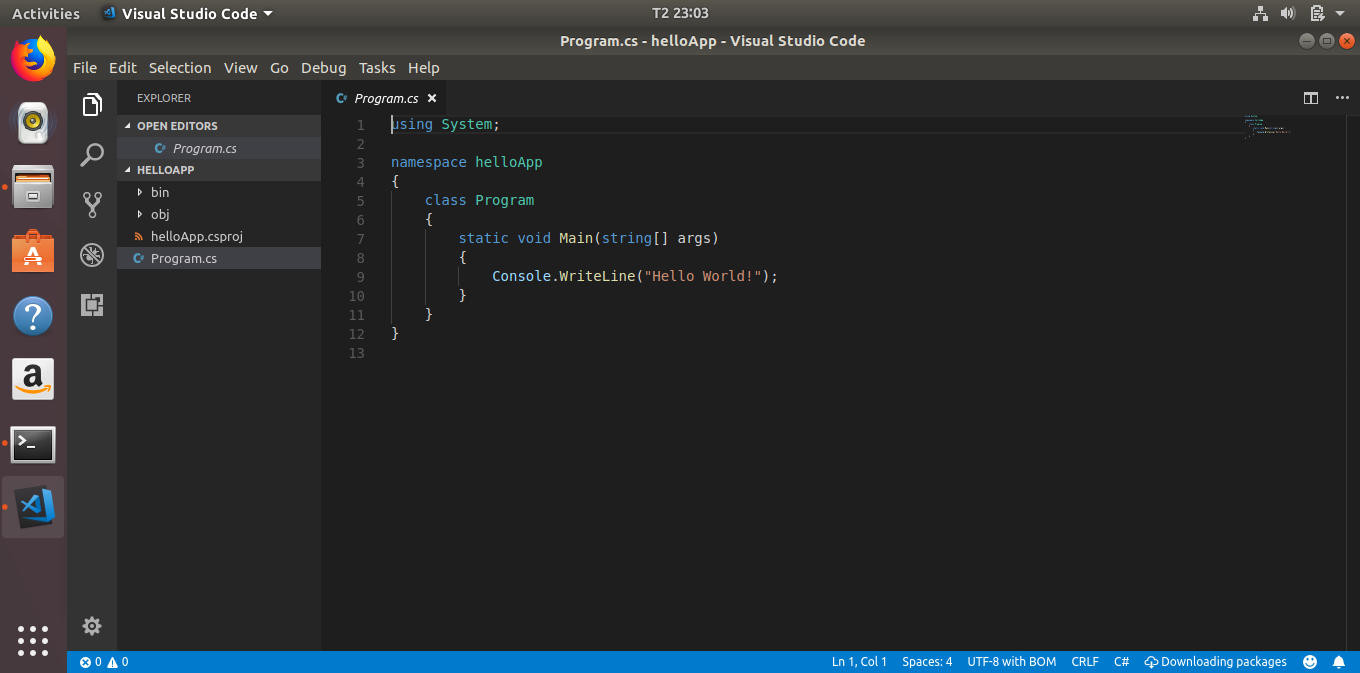 Bất kể viết bằng môi trường nào (Windows/Linux/MacOS) thì biên dịch project sẽ ra file .dll. Ta thực thi bằng cách gọi lệnh dotnet <ten-file>.dll. 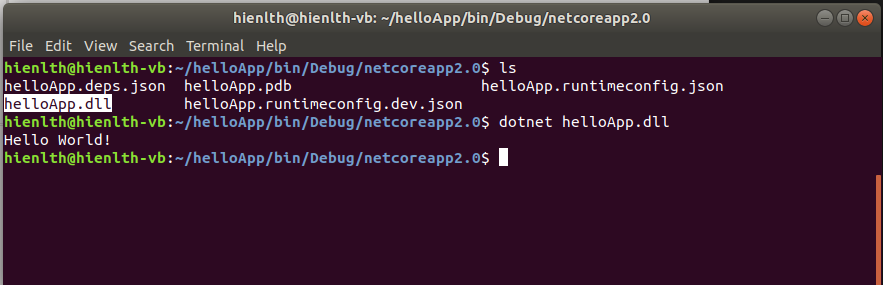
0 Comments
|
Giới thiệuTrang thông tin bài viết hướng dẫn thao tác trên môi trường .NET Core Archives
November 2020
Categories |
 RSS Feed
